Introduction: The Benefits of Pressure Washing
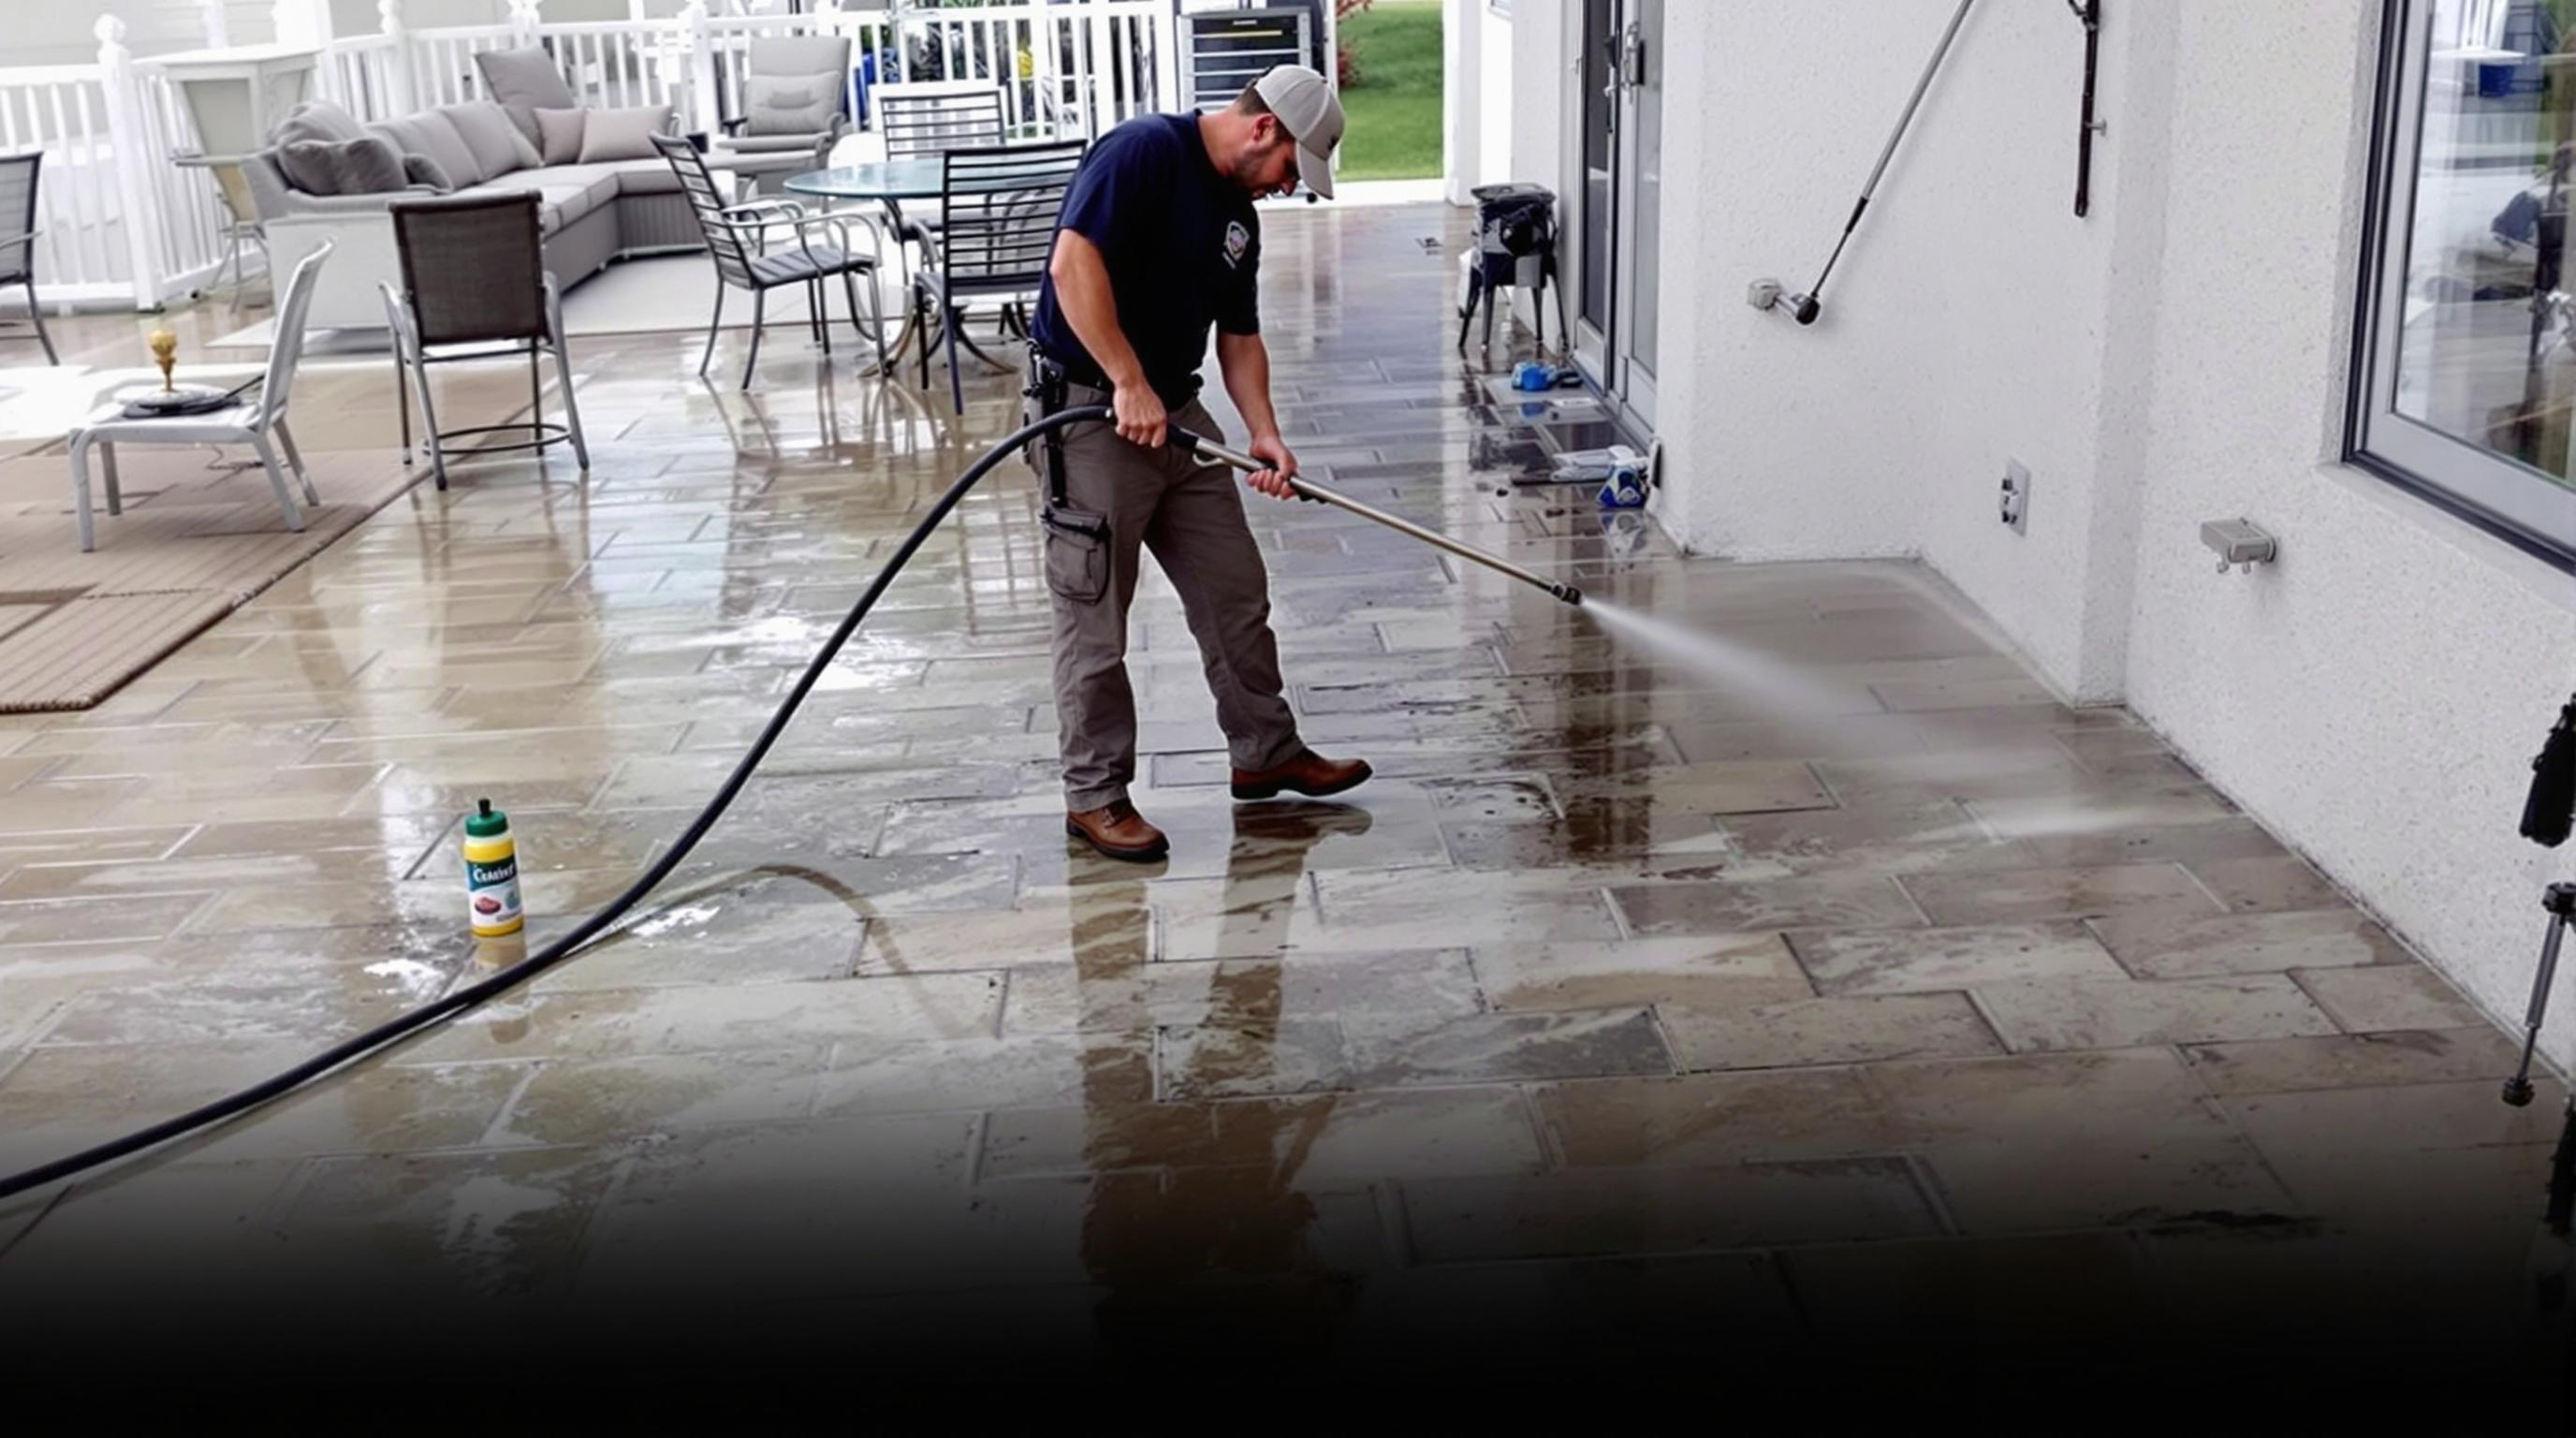
When it comes to keeping your home looking spick and span, few methods rival the effectiveness of pressure washing. Whether it's removing stubborn stains from your driveway or revitalizing your home's exterior, pressure washing is an essential tool for every homeowner. But why should you consider doing it yourself? Well, aside from saving some money, DIY pressure washing can be a rewarding experience that leaves you with a sense of accomplishment.
In this comprehensive guide, we're going to cover everything you need to know about pressure washing—particularly in Tampa. We'll delve into the steps involved in getting started with DIY pressure washing and provide tips and tricks along the way. So grab your gloves and goggles; it's time to dive into "Ready, Set, Clean! Getting Started with DIY Pressure Washing Steps for Your Home."
What is Pressure Washing?
Pressure washing uses high-pressure water spray to clean surfaces effectively. It’s often employed to remove dirt, grime, mold, and stains from various surfaces such as driveways, decks, siding, and sidewalks. In Tampa's humid climate, mildew and algae can be persistent nuisances that make pressure washing an invaluable service.
Why Choose DIY Pressure Washing?
Cost-Effective: Hiring professionals can be costly. By taking on this task yourself, you can save a significant amount of money. Flexibility: You can choose when and where to clean without relying on someone else's schedule. Satisfaction: There’s nothing quite like the feeling of seeing instant results after hard work.Understanding Different Types of Pressure Washers
Electric vs. Gas Pressure Washers
Choosing the right type of pressure washer is crucial:
- Electric Pressure Washers: Ideal for light-duty tasks. More portable and quieter. Generally lower in cost. Gas Pressure Washers: More powerful; suitable for heavy-duty cleaning. Can tackle larger areas more quickly. Requires more maintenance but offers greater versatility.
Choosing the Right PSI (Pounds per Square Inch)
The power behind a pressure washer is measured in PSI:
- 1,300 – 2,000 PSI: Suitable for most residential tasks like cleaning patios and decks. 2,000 – 3,200 PSI: Best for tougher jobs such as stripping paint or cleaning concrete. 3,200+ PSI: Ideal for heavy-duty industrial jobs but may be overkill for home use.
Essential Equipment for DIY Pressure Washing
Before diving into your project, ensure you have all necessary equipment:
Basic Gear Checklist
- A pressure washer (electric or gas) Nozzle tips (various angles) Extension wand Surface cleaner attachment Cleaning solutions (detergents specific to the surface) Safety gear (gloves and goggles)
Safety First: Protective Gear
Protective gear is non-negotiable when operating a pressure washer:
Goggles will protect your eyes from debris. Gloves keep your hands safe from harsh chemicals. Closed-toe boots ensure foot safety against falling objects or slippery surfaces.Preparing Your Space Before You Start
Assessing the Area to Be Cleaned
Before unleashing the power of water:
Inspect surfaces for cracks or damages that might worsen with high-pressure water. Move any furniture or obstacles out of the way.Gathering Necessary Cleaning Solutions
Not all surfaces are created equal; different surfaces require different solutions:
Surface-Specific Detergents
| Surface Type | Recommended Detergent | |----------------|--------------------------------| | Concrete | Heavy-duty concrete cleaner | | Wood | Wood cleaner/brightener | | Vinyl Siding | Vinyl siding cleaner |
Step-by-Step Guide to DIY Pressure Washing Your Home
Step 1: Setting Up Your Pressure Washer
Follow these steps before turning on your machine:
Connect the garden hose to your pressure washer's water inlet. Attach appropriate nozzle tip based on your cleaning task. Ensure detergent tanks are filled if you're using soap.Step 2: Testing Water Flow & Nozzle Settings
Before getting down to business:
- Turn on the water supply and check for leaks. Test spray patterns on an inconspicuous area.
Step 3: Starting Off Slow – Practice Makes Perfect!
Start by practicing on less visible areas like side fences or back patios until you feel comfortable handling the machine effectively.
Step 4: Cleaning Techniques That Work Wonders!
Cleaning Concrete Surfaces
Apply a concrete cleaner using low-pressure setting first. Switch to high-pressure mode at a distance of about two feet away from the surface. Use sweeping motions while moving horizontally across the surface. https://www.linkedin.com/company/heights-soft-wash/Revitalizing Your Deck
Start with a wood-specific cleaner applied at low pressure. Allow it to sit as recommended by product instructions before rinsing off thoroughly.Aftercare Tips Post-Cleaning Session
Once you've tackled those dirty areas around your home:
Inspecting Your Work Done Right!
After completing each section:
- Check that all areas have been cleaned thoroughly without streaks or missed spots.
Properly Storing Your Equipment
Once finished:
Disconnect hoses carefully without pulling at them abruptly. Make sure everything is dried properly before storing away in a cool place.FAQs About DIY Pressure Washing
Q1: How often should I pressure wash my home?
A1: Generally speaking, once or twice a year is ideal depending on environmental factors—especially if you're in Tampa where humidity encourages mold growth!
Q2: Can I use regular soap instead of specific detergents?
A2: It's not advisable since regular soap may not be effective against tough stains and could even damage certain surfaces!
Q3: Is it safe to use a pressure washer on wood decks?
A3: Yes! Just ensure you’re using a lower PSI setting (around 1200–1500) with appropriate wood-cleaning solutions designed specifically for this purpose!
Q4: What if my pressure washer doesn’t have enough power?
A4: In cases where light-duty machines fall short consider upgrading to gas models which provide greater force needed for tougher jobs!
Q5: Should I cover my plants when using detergents?
A5: Absolutely! Cover any nearby plants as harsh chemicals may harm them during cleaning process; always rinse off surrounding foliage afterward too!
Q6: Are there any eco-friendly alternatives available?
A6: Yes indeed! Many brands now offer biodegradable detergents made from natural ingredients which are effective yet safe for both pets & plants alike!
Conclusion
So there you have it—the complete guide to getting started with DIY pressure washing at home! From understanding different types of equipment available right through safely executing techniques tailored towards specific surfaces—there’s no stopping you now! As we’ve covered throughout "Ready, Set, Clean! Getting Started with DIY Pressure Washing Steps for Your Home," this task not only helps maintain curb appeal but also protects against long-term damage caused by dirt buildup over time.
Now that you're armed with knowledge galore—what are you waiting for? Get out there and start transforming your space today through effective do-it-yourself methods tailored just right within beautiful sunny Tampa heights!
Whether tackling driveways or revitalizing wooden decks—the satisfaction gained post-clean will surely resonate beyond just looks alone—it represents care taken towards one’s property while enhancing overall life quality within it too—happy washing folks!